
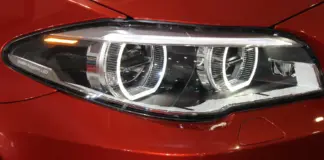
If your vehicle shows a “dipped beam bulb fault” warning, it can be both frustrating and unclear. This message generally points to an issue with your low beam headlights, which could be due to a burnt-out bulb or problems with the power supply. Fixing it may involve checking the bulb itself or looking into components like the ballast. Keep reading to find out how to troubleshoot this and restore your headlights.
Understanding Dipped Beam Bulb Fault
This type of fault can be triggered by various factors, such as aging bulbs or electrical issues. A basic understanding of your vehicle’s lighting system can help you figure out the cause and apply a suitable fix.
Common Reasons for the Alert
The most common cause is a burnt-out bulb. It might stop working due to wear or damage. Look for signs like dark spots or broken filaments. Using an incorrect bulb type can also cause the warning. Always refer to your car’s manual for the right bulb specifications.
Dirty or foggy headlight covers can also make the light seem weaker than it is. Cleaning the lens or replacing the bulb often solves the problem. If not, the issue may lie deeper, possibly with the body control module (BCM), which might need a professional scan tool to diagnose.
Important Electrical Components
Several electrical parts affect how dipped beams work. The ballast, which is vital in HID systems, helps the bulb light up correctly. A faulty ballast can lead to flickering or no light at all. A quality relay harness is also essential to ensure a stable power supply and prevent dim lighting.
Issues such as poor wiring or loose connections can also cause the headlights to fail. Checking these electrical paths ensures your lights work as expected. Knowing how these parts work can make identifying and fixing problems much easier.
Steps to Identify the Fault
Accurate diagnosis is key when this warning pops up. Inspect both the physical hardware and any stored error codes to understand the actual issue, whether it’s a simple bulb replacement or a more advanced electrical fault.
Using a Diagnostic Scanner
Use a diagnostic scanner to check for fault codes. Many vehicles store specific codes for lighting issues. An OBD-II scanner can help pinpoint whether it’s the dipped beam bulb or another component that’s malfunctioning.
Look out for codes that refer to individual headlights or key electrical parts like ballasts and relays. Understanding these codes can speed up the repair process and help avoid guesswork.
Check the Bulb and Assembly
After scanning for codes, visually inspect the bulb. Remove the headlight unit and look for signs of damage, incorrect installation, or corrosion. Make sure the bulb fits tightly and the wiring is secure.
Inspect the lens for dirt or moisture, as this can block light. A quick clean using a soft cloth may bring back brightness and eliminate the warning if no deeper issues exist. Visual checks are helpful before diving into complex diagnostics.
Changing Dipped Beam Bulbs in a Ford Focus
Replacing the dipped beam bulbs in a Ford Focus can be easy if you follow proper steps. Choosing the right bulb and handling installation carefully will keep your headlights working efficiently.
Choosing the Right Bulb
Check your Ford Focus owner’s manual to find the correct bulb type—whether it’s halogen, HID, or LED. The wrong bulb can reduce performance or even cause error messages.
Buy from reliable auto parts dealers and check reviews to choose a bulb that balances quality and price. Confirm compatibility before purchasing.
Installing the Bulb
Ensure the car is parked on a flat surface and turn off the engine. Open the hood and locate the headlight assembly. You may need to remove fasteners with a screwdriver. Be gentle to avoid damage.
Find and remove the old dipped beam bulb. Install the new one securely and reassemble everything. Test the lights to confirm proper function.
Other Possible Issues
If the new bulb doesn’t work, there may be deeper problems that need to be addressed.
Bulb Still Not Lighting Up?
If the replacement bulb doesn’t function, double-check that it’s compatible and undamaged. A faulty ballast might be interfering with power delivery, preventing the bulb from turning on.
Inspect the relay harness for wear, rust, or loose wires. These can disrupt power flow. Also, clean the lens to prevent light blockage.
Use a microfiber cloth to gently wipe the headlight lens. If the issue persists, deeper diagnostics might be required.
Calling a Professional
If changing the bulb and checking wires doesn’t solve the issue, a mechanic may need to look at it. The Body Control Module (BCM) might be malfunctioning, especially if electrical systems are affected.
If you suspect the ballast or complex wiring is the problem, it’s best to consult a technician. They have the tools and knowledge to fix such problems safely and efficiently.
A skilled mechanic can save you time and ensure your lights are working reliably again.
Headlight Maintenance Tips
Taking care of your headlights can improve visibility and safety. Here are a few simple tips to keep your dipped beams in great shape.
Check your dipped beam bulbs regularly. Over time, they can dim or burn out. A weekly look can help avoid sudden failures.
Clean headlight lenses to remove dirt and grime. Dirty lenses reduce how far your light reaches, especially at night. Use a soft cloth and cleaner monthly.
Ensure electrical connections are tight and corrosion-free. This prevents flickering or lighting issues. Periodic checks help spot problems early.
Keep spare bulbs and fuses in your car in case of emergencies. This lets you fix issues quickly if a bulb goes out.
Check headlight alignment during routine maintenance. Misaligned lights can impair vision and annoy oncoming drivers.
Keep moisture out of the headlight unit. If you notice fogging, dry it out quickly to extend bulb life.
By acting on signs like dimming or flickering early, you can prevent bigger problems down the line.
Following these simple tips helps make sure your dipped beam bulbs stay dependable when you need them most.
Hand-Picked:
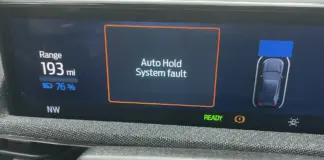 Ford Auto Hold System Warning Message: Causes & Fixes
 Top 4 Reasons Your FordPass Remote Start May Fail (And How to Fix Them)
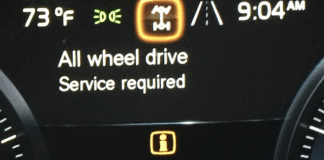 Service All Wheel Drive System Message: Causes and Fixes
 Honda DRL System: Fix Check DRL Warning Light Issues
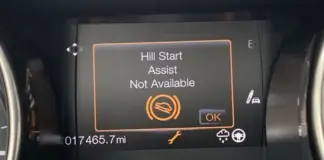 Common Causes of Hill Start Assist Issues in Ford Vehicles
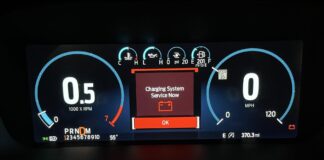 Ford F150 Charging System Service Now Message: 4 Things That Could Be Wrong
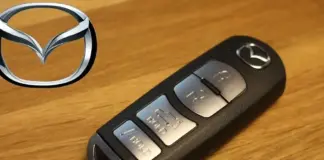 Mazda Key Fob Not Working: Causes and Fixes
 Ford F150 P0345 Trouble Code? Don’t Ignore These Key Symptoms
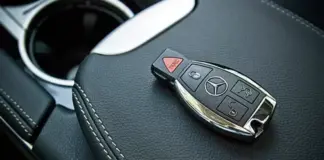 Mercedes-Benz Starting Issues: Causes and Troubleshooting
 Ford Electric Power Steering Issues: Easy Tips for Smooth Driving
 How to Fix Ford Blind Spot System Fault: Causes and Solutions
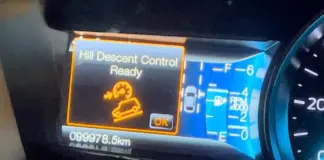 Ford Hill Descent Control Fault Message: Causes & Fixes