
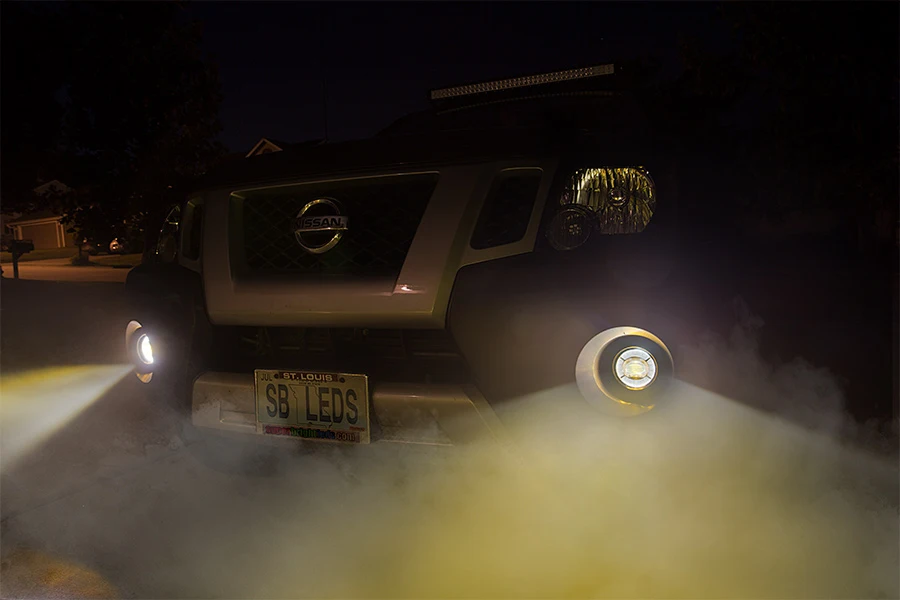
Fog can turn a familiar road into a short tunnel. The lane markings fade, headlights from oncoming cars flare across the windshield, and the vehicle ahead seems to appear only when it is much closer than expected. I have had customers come into the shop after a foggy commute asking why their lights made the road look worse. In many cases, the high beams were on, the windshield was misted inside, or the fog lamps were being used at the wrong time.
Fog lights are designed to help in conditions where visibility is seriously reduced by fog, heavy rain, snow, or dust. They sit low and cast a broad beam that helps outline the road surface and edges without throwing as much light directly into the suspended water droplets. They are useful, but they don’t defeat the limits of your vision and they are not a replacement for slowing down.
This guide explains how front and rear fog lights work, how to use them properly, what the dashboard symbols mean, and what to check when one or both stop working. The exact switch, bulb type, fuse location, and legal rules depend on the vehicle and country, so use your owner’s manual and local traffic rules alongside this general advice.
Why fog makes ordinary headlights harder to use
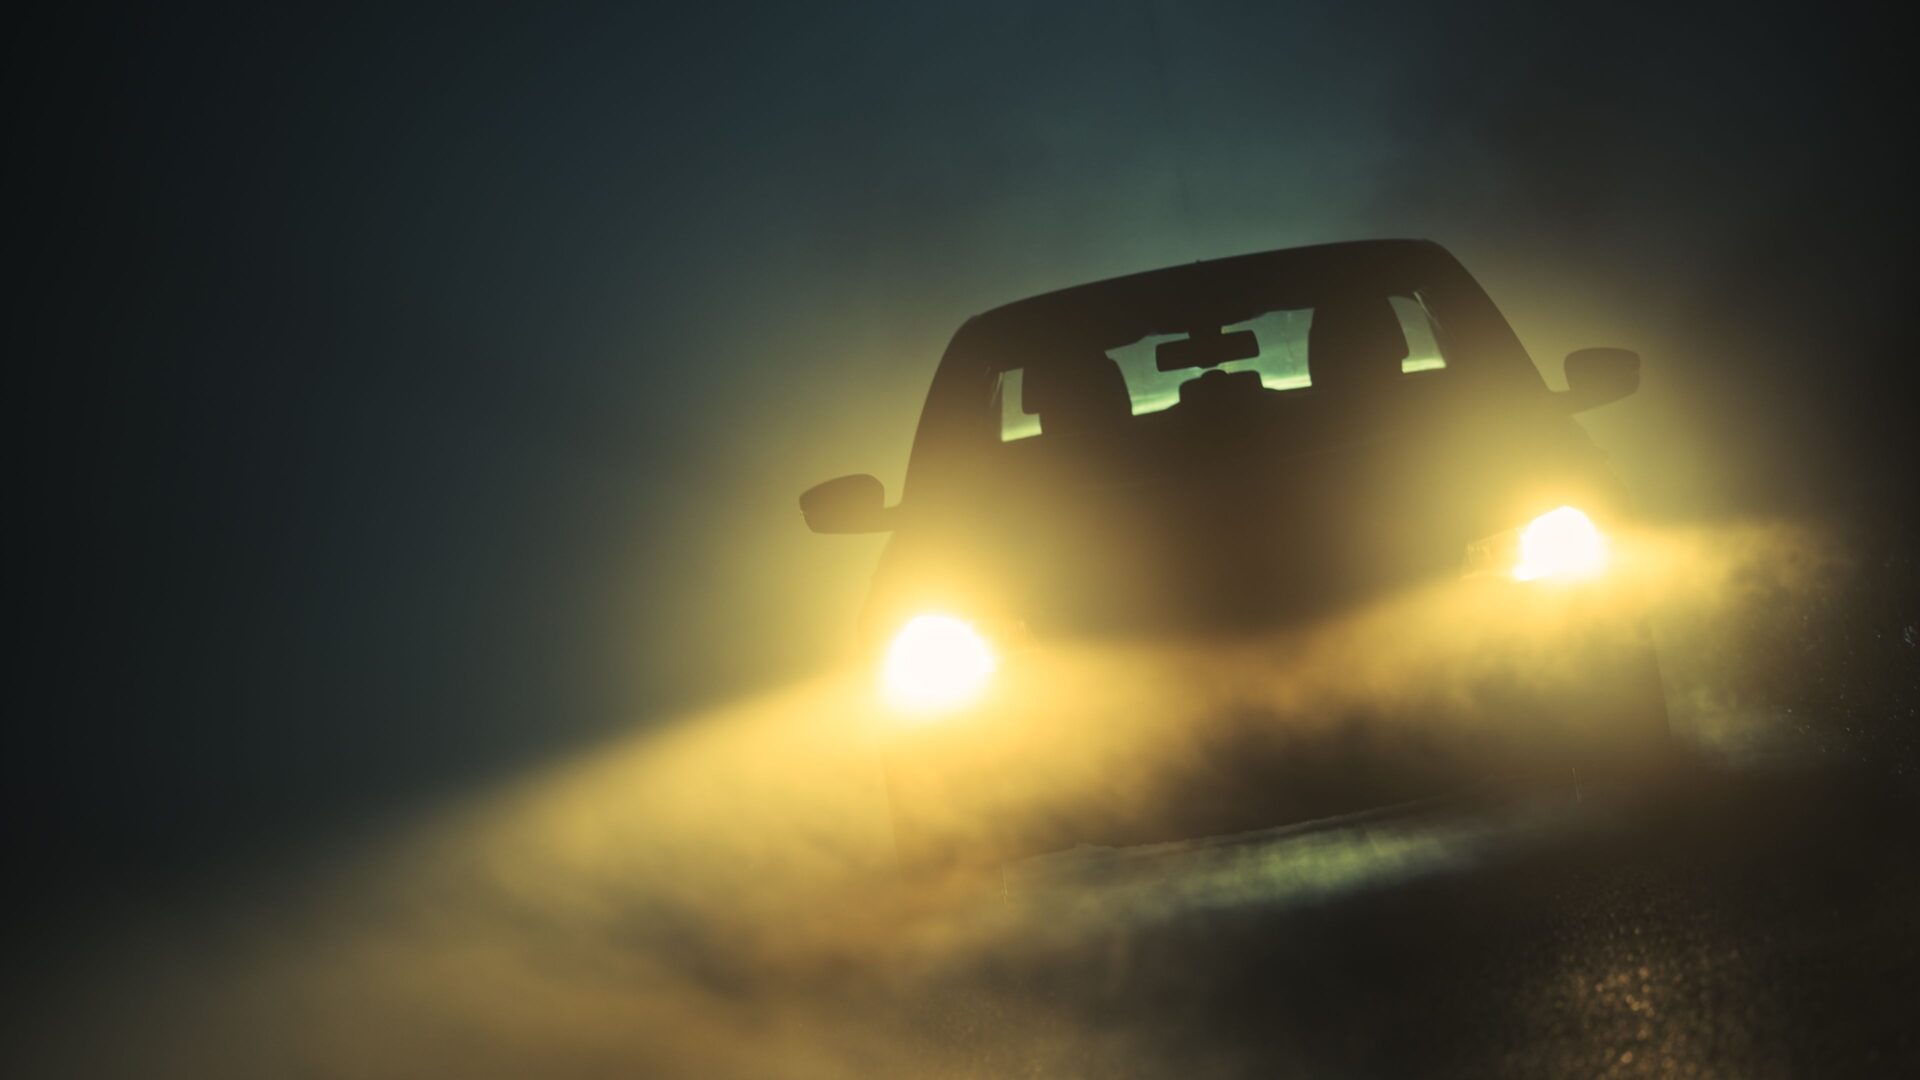
Fog is made of tiny water droplets suspended close to the road. When a headlight beam enters that layer, some of the light is reflected and scattered back toward the driver. The thicker the fog and the brighter the beam, the more glare you may see in front of the vehicle.
High beams are the worst choice in dense fog because they send light farther and higher into the droplets. Instead of lighting the road ahead, the beam can create a bright white wall. Your eyes then have a harder time seeing lane lines, pedestrians, stopped vehicles, and curves beyond that glare.
Low beams usually work better because they point down toward the road. They also make your vehicle visible to traffic coming toward you. If visibility is severely reduced, front fog lamps can supplement the low beams, but they should not be used as an excuse to maintain normal speed.
The National Highway Traffic Safety Administration’s vehicle-lighting guidance is a useful general reference for making a vehicle visible and using lights safely. Your vehicle manual still controls the switch operation, and the traffic law where you are driving controls when fog lights may be used.
What front fog lights are designed to do
Front fog lights are mounted low in the front bumper or lower grille area, usually below the main headlights. Their beam is wide and aimed close to the road. The goal is to help you see the pavement edges, lane markings, and immediate road surface without shining a strong beam straight into the fog.
Mounting them low can help because fog close to the ground may be less dense than the layer directly in front of the windshield. This is not a guarantee. Heavy fog can fill the entire area around the car, and the lamps cannot create visibility where the atmosphere blocks it.
A good fog-lamp beam has a sharp upper cutoff and spreads across the road rather than pointing into the eyes of other drivers. If a lamp is loose, cracked, incorrectly aimed, or fitted with the wrong bulb, it may act more like a glare source than a useful road light.
Front fog lights are not extra high beams
The common mistake is aiming fog lights upward because the driver wants to see farther. That defeats the design. Fog lamps should light the near road area, while low beams provide the longer view that conditions allow.
After replacing a fog-light housing or front bumper, check that the lamp has not been pushed out of position. A light can look bright and still be aimed into the lane of oncoming traffic. If the housing has an adjustment screw, use the manual or a proper beam-setting procedure instead of turning it by guesswork.
What rear fog lights are for
Rear fog lights are bright red lamps intended to make your vehicle easier to see from behind when visibility is severely restricted. They are much brighter than ordinary tail lamps, which is why they can help a following driver notice you in dense fog, heavy snow, or similarly poor conditions.
Many vehicles sold in Europe and other markets have a rear fog lamp, often one lamp rather than two. On some vehicles it is placed on the left, on the right, or in a central lamp assembly depending on the vehicle design and local requirements. The exact position is not universal, so check the rear of your car and the manual.
The rear fog lamp is not meant to stay on in ordinary rain, clear darkness, or slow traffic. Its brightness can make it difficult for the driver behind you to judge your brake lamps and distance. Turn it off as soon as visibility improves or you leave the poor-weather section.
Do not confuse rear fog lights with brake lights
A rear fog lamp stays bright while it is switched on, whether you are braking or not. Brake lights brighten when you press the brake pedal. If the rear fog lamp is left on, the driver behind you may have trouble reading your brake-light changes, especially in a line of traffic.
Some vehicles combine the rear fog function with one side of the tail-light assembly. That can make the lamp appear abnormal when you are not familiar with the car. Check the symbol and switch rather than assuming one brake light has failed.
How to identify the fog-light controls and symbols
Fog-light switches come in several forms. Some cars have separate dashboard buttons, some use a rotating ring on the headlight stalk, and others put the function in a lighting menu. The front and rear fog controls may be separate, or one switch may cycle through several lighting settings.
On many vehicles, the front fog symbol uses a green indicator. It resembles a headlamp with a beam pointing to the side and a wavy or vertical line crossing it. The rear fog indicator is commonly amber or yellow, but colors can vary by vehicle and market.
Look for the symbol in the owner’s manual instead of relying only on memory. Headlight, front fog, rear fog, automatic-light, and high-beam symbols can be similar. If a symbol is lit after the road clears, check whether the rear fog function is still active.
Why the fog switch may not work with the lights off
Many cars require the low beams or at least the exterior lighting to be on before the fog lamps can be selected. This prevents drivers from using the fog lamps as a substitute for normal headlights. If you turn the fog switch and nothing happens, turn on the low beams and check the indicator.
Some vehicles allow front fog lamps with parking lamps, while others require low beams. Some rear fog lamps require the headlight switch to be in a specific position. This is a normal design difference, not necessarily a fault.
When you should use fog lights
Use front fog lights when fog, heavy snow, dust, or rain has reduced visibility enough that the low beams alone do not give a useful view of the road. Use the rear fog light only when traffic behind you might not see the vehicle clearly. Switch both off when the air clears.
There is no benefit in turning fog lamps on simply because it is dark. Main headlights are designed for normal night driving. Fog lamps left on in clear conditions can create glare, make your vehicle look less predictable, and violate local lighting rules.
Rules vary by country and sometimes by road. The UK Highway Code guidance on lighting to see and be seen is one example of a rule set that addresses fog lights and poor visibility. If you are traveling across borders, check the law where you are driving rather than assuming the rule from home applies.
Use low beams with the fog lights when required
Front fog lamps are usually intended to supplement low beams, not replace them. The low beams help other road users see your vehicle and provide the main forward lighting. If your car’s design permits fog lamps without low beams, follow the manual and local law, but remember that a fog lamp’s short, wide beam is not enough for ordinary night travel.
On a dark road with light fog, low beams may be all you need. If you can see the road edges and markings clearly, adding more lights may create more glare than benefit. Turn on the extra lamps because the conditions call for them, not because the switch is available.
How to drive when visibility is poor
Slow down before the fog gets thick
Reduce speed early and leave more space between your vehicle and the one ahead. The speed that felt safe on a clear road may be too high when you can see only a short distance. If you cannot stop within the distance you can see, you are traveling too fast for the conditions.
Keep your movements smooth. Hard braking, sudden steering, and close following become more dangerous when the driver behind you cannot see clearly. If traffic slows, use the brake early and gently so your brake lights give the following driver more time to react.
Keep the windshield clear inside and out
Fog outside the glass is only half the problem. Moisture inside the cabin can make the windshield look cloudy, especially when several people are breathing in a cold car. Use the defroster, direct air toward the windshield, adjust the temperature as needed, and run the wipers when water collects outside.
If the windshield fogs repeatedly, check the cabin air filter, moisture inside the carpet, door seals, and the ventilation setting. A damp floor mat can keep adding humidity to the cabin. Worn wiper blades can also leave a film that becomes obvious only when headlights shine through it.
The original article points readers to a windshield-wiper guide. That source link has been removed here, but the practical advice remains: inspect the blades, clean the glass, and replace blades that chatter, smear, or leave untreated strips.
Follow the lane markings carefully
Use the right-side lane markings and road edge as a guide when appropriate. Looking directly toward oncoming headlights can cause glare and a short-term loss of night vision. Keep your eyes moving between the road ahead, the edge line, mirrors, and the space where you intend to travel.
Do not stare at the lamps of an approaching vehicle. Reduce speed, keep your position, and use the lane markings rather than the light source as your reference. If the markings disappear, the road bends unexpectedly, or you cannot identify hazards, slow further and look for a safe place to leave the road.
Do not stop in a live lane
Stopping in traffic because the fog is too thick can create a rear-end collision. If you must stop, move as far away from the travel lane as the road safely allows, use the hazard warning lights when appropriate, and choose a visible safe location. Follow local law and keep yourself out of the path of approaching vehicles.
The original advice says to turn off all lights if you stop away from the road so another driver does not mistake you for a vehicle in the lane. The exact procedure depends on where you stop and local rules. Do not turn off lighting while you remain in or near a live lane where other drivers need to see you. A safe shoulder, parking area, and hazard-light use are more important than following a blanket rule.
Never use high beams in dense fog
High beams reflect from the water droplets and can make the road look brighter but less visible. Switch to low beams and use front fog lamps if conditions and local rules justify them. If another driver approaches, keep the beam low and avoid adding unnecessary glare.
Automatic high-beam systems may not react perfectly in fog. If the road is hazy or the system is switching unpredictably, take manual control. Driver-assistance lighting is helpful, but your eyes and judgment still decide whether the beam is appropriate.
Front fog lights in rain, snow, dust, and clear weather
Fog lamps can help in heavy rain or snow when spray and reflections reduce your view of the road edges. They are also useful in dust if the beam stays low and the lamps do not simply reflect a cloud back at you. The same rule applies, use them only when visibility is poor enough to justify the extra light.
In light rain, low beams and good wipers may be enough. Front fog lights may make the lane edges easier to see, but they can also add glare from wet pavement. Try the lowest useful lighting combination and reduce speed rather than filling the front of the car with every available lamp.
Fog lights do not make high speed safe. Their useful range is usually close to the vehicle, so they work best when the driver has time to respond to a pothole, stopped car, animal, pedestrian, or sudden turn.
Why one fog light may stop working
Most older fog lamps use a replaceable bulb. A filament can burn out, a connector can corrode, or water can enter the housing. On newer cars, LED fog lamps may use an integrated module, so a blinking or dim light may require a module or wiring diagnosis rather than a simple bulb.
If one lamp is out and the other still works, the bulb is a reasonable first suspect. If a replacement bulb fails quickly, look for a loose connector, moisture, excess vibration, poor bulb fit, or a charging-voltage problem. A bulb that blinks over bumps often points to a bad connection rather than a lamp that is simply at the end of its life.
Inspect the socket and housing
With the lamp switched off and cooled, look for a melted socket, green corrosion on the terminals, water droplets inside the lens, or a loose mounting point. Do not touch a hot bulb. If the housing is cracked, moisture can reach the bulb and connector and cause repeat failures.
Do not pack a wet housing with paper towels and reinstall it. Find out where the water is entering and repair the seal or replace the damaged housing. A fog lamp should not contain standing water.
What to check when both fog lights stop working
When both lamps fail at once, a shared fuse, relay, switch, ground, power feed, or control module is more likely than two bulbs burning out at precisely the same time. Check the owner’s manual for the correct fuse location and rating. Some cars use a separate fuse for front and rear fog functions, while others combine circuits.
Do not replace a fuse with a higher amperage rating. The fuse is there to protect the wiring. If the replacement blows immediately or blows again after a short time, stop installing fuses and have the circuit checked for a short or overload.
A practical fuse test
- Park safely, switch off the ignition and lights, and locate the fuse panel using the manual.
- Identify the fog-lamp fuse from the vehicle’s fuse chart, not from a generic online diagram.
- Remove the fuse with the supplied puller or a suitable fuse tool.
- Inspect the metal link, or test both fuse terminals with a test light or multimeter.
- Replace it only with the same type and amperage.
- Turn on the correct lighting settings and test the lamps.
A fuse that looks good can still have a poor contact at the fuse box. Test for power on both sides with the circuit switched on when the vehicle procedure allows it. If you are not comfortable testing a live circuit, let a technician handle it. A test light is useful here, but keep its probe away from airbag wiring and unrelated connectors.
Relay and switch faults
Some vehicles use a relay to carry fog-lamp current, while others control the lamps through a body-control module. A relay may click and still have burned contacts. A switch can also fail internally, especially if the fog lamps are rarely used or the vehicle has had moisture around the dashboard.
Relay swapping is only a valid test when the replacement relay has the same part number and the manual or wiring diagram confirms that the circuits are equivalent. Do not swap a random relay because it fits the socket. You can create another fault or damage a module.
Replacing a fog-light bulb
Bulb access varies widely. On some cars, you reach the rear of the fog-light housing through the wheel-well liner. On others, a lower splash shield, grille trim, or bumper section must be loosened. The owner’s manual normally shows the bulb type and a safe replacement procedure.
Before removing anything, compare the new bulb with the old one. Confirm the base, connector, wattage, and application. A bulb that fits physically but has the wrong rating can overheat the socket or produce an incorrect beam.
Halogen bulbs should not be handled with bare fingers on the glass. Skin oil can create a hot spot and shorten bulb life. Hold the bulb by its base or use a clean, dry cloth. If you touch the glass, clean it with the product recommended for the bulb before installation.
LED replacements are not automatically an improvement. An LED retrofit may create a poor beam pattern, flicker, bulb-out warning, radio interference, or an installation problem. If the vehicle was designed for a replaceable LED module, use the correct module rather than forcing a universal bulb into the housing.
After installing the bulb
Reconnect the socket fully and check that the locking tab is engaged. Make sure the rubber seal is seated and that the housing has not been left loose. Test the fog lamp with the required low-beam or headlight setting, then check the opposite side and the dashboard indicator.
Stand a safe distance from a wall or garage door and compare the lamp output. A new bulb aimed far higher than the other side may indicate a damaged housing or mounting bracket. Do not stare into a bright LED lamp while testing it.
Fog-light wiring and ground problems
Fog lamps are low on the vehicle and live in a dirty, wet area. Road salt, water, gravel, and bumper impacts can damage the wiring or ground point. A poor ground may cause a dim lamp, flickering, a glowing indicator, or strange behavior when another light is switched on.
Inspect the harness for rubbed insulation, stretched wires, broken clips, and connectors hanging near the road. Look for corrosion inside the plug rather than only at the outside. If the fog-light circuit has been modified for aftermarket lamps, return to the wiring diagram before diagnosing the factory system.
A digital multimeter can check voltage and continuity, but a continuity beep alone does not prove that a wire can carry current under load. A technician may use a test light, voltage-drop test, or fused jumper according to the service procedure. Do not use an unfused jumper across a circuit unless you know exactly what you are doing.
LED fog lights and module failures
LED lamps can last a long time, but the LED does not make the entire assembly failure-proof. The driver circuit, connector, control module, heat sink, and housing can fail. A sealed LED unit may require replacement of the assembly rather than a bulb.
A flickering LED may be caused by a poor connection, pulse-width control, incompatible aftermarket bulb, low voltage, or a failing driver. Check the vehicle’s specifications before buying an online replacement. The cheapest lamp may not match the factory electrical control.
If one LED unit is dim and the other is normal, compare the connectors and supply voltage before ordering a lamp. If both are out, check the fuse, switch command, module, and ground. The same diagnostic logic applies as with conventional bulbs, but the parts are not interchangeable.
Legal rules and courtesy matter
Fog-light rules vary by country, state, and sometimes road authority. Many jurisdictions limit front or rear fog-light use to fog, snow, heavy rain, or other conditions that seriously restrict visibility. Some rules specify when front lamps may be used with low beams, and others focus on not dazzling or confusing other road users.
Read the traffic rules for the country where you drive. The fine can be more than an inconvenience, and the safety reason for the rule is sound. Bright rear fog lamps in clear traffic make it harder for a following driver to judge your brake lights and distance.
Do not use front fog lamps as daytime decoration or leave rear fog lights on because you like the way the car looks. A vehicle with every lamp illuminated is not automatically easier to see. Correct lighting gives other drivers useful information without adding glare.
Common fog-light mistakes I see in the shop
Using high beams because the low beams look weak
The answer to poor visibility is not always more light. In fog, high beams reflect back at you and can erase the road view. Low beams, clean glass, reduced speed, and proper front fog lamps are the better combination.
Driving at normal speed because the fog lights are on
Fog lamps illuminate a short area near the vehicle. They do not extend the distance you need to stop. If you can see only a short distance, slow down to match it.
Leaving rear fog lights on after the fog clears
Rear fog lights are bright enough to mask brake-light changes. Switch them off when visibility improves. If you are unsure whether the rear lamp is on, check the amber dashboard indicator.
Replacing a fuse with a larger one
A bigger fuse can allow the wiring to overheat before the fuse opens. Use the exact rating listed in the manual. If the fuse fails again, diagnose the short instead of feeding the circuit another fuse.
Touching a halogen bulb
Fingerprints on the glass can create a hot spot. Hold the bulb by its base, and replace it if the glass is contaminated or cracked.
Guessing at the bulb or relay
Fog-light parts vary by year and trim. Read the label on the old bulb, confirm the catalog listing by vehicle details, and compare the relay part number before installing anything.
When to call a mechanic
DIY work is reasonable for cleaning the lens, checking the switch, replacing an accessible bulb, or checking a fuse. You need the owner’s manual, a safe work area, a fuse puller, and possibly a multimeter. Do not work under a loose bumper or reach around a hot lamp.
Call a technician when the fuse blows again, both lights remain out after a new fuse, the wiring is damaged, water is inside the housing, the light flickers over bumps, or an LED module is involved. Electrical problems are often cheaper to diagnose before someone starts replacing switches and control modules.
Aftermarket lighting, bumper damage, or a lamp that is badly aimed deserves professional attention. The technician can check voltage drop, ground integrity, relay operation, beam alignment, and legal output. A fog lamp that works but blinds oncoming traffic is not a successful repair.
What I would do if this were my car
I would read the manual, confirm the front or rear fog symbol, and use the low beams first. In dense fog, I would add the front fog lamps, slow down, clear the windshield, and leave a generous gap. I would use the rear fog lamp only while traffic behind me had trouble seeing the car.
If a lamp stopped working, I would check whether one side or both sides failed. One side points me toward a bulb, socket, ground, or local wiring. Both sides make me check the fuse, relay, switch, control module, and shared power supply before buying bulbs.
I would replace a bulb myself if access was straightforward and the manual supported it. I would leave bumper removal, LED module diagnosis, repeated fuse failures, water intrusion, and beam alignment to a shop. The saved labor is not worth creating a short circuit or sending a badly aimed lamp into another driver’s eyes.
How to check the repair after a fog-light service
After replacing a bulb or fuse, test the lights with the vehicle parked safely. Confirm that the dashboard indicator matches the function you selected, both front lamps have similar output, and the rear fog lamp is not glowing when you have turned it off. Ask someone to stand safely behind the car if you need to confirm the rear lamp, never walk into traffic to check it. Check the wiring and connector once more if the lamp cuts out when the bumper or wheel-well liner is moved.
Look at the beam from a sensible distance, not directly into the lens. The light should sit low and should not point sharply higher than the lamp on the opposite side. If the vehicle has adjustable fog-light aim, use the manual’s method or ask a workshop to set it with the correct equipment.
Check the lens after the first wet drive. New moisture, a loose seal, or a misted connector means the housing still has a problem. Fix that before the next storm, because corrosion inside the socket can turn a simple bulb replacement into a wiring repair. If the lamp is mounted in the bumper, also make sure the housing has not started rubbing against the tire or splash shield. A loose mount can change the beam each time the car hits a bump on dark roads.
Take the car for a short drive only after the static checks pass. Pay attention to flickering over bumps, a hot-plastic smell, smoke, a warning message, or a fuse that opens again. Stop if any of those signs appears. A new bulb can be correct and still reveal a poor socket or damaged harness once the circuit carries current.
The mechanic’s verdict on using fog lights
Fog lights are useful when visibility is reduced by fog, heavy rain, snow, dust, or similar conditions. Front lamps cast a broad, low beam that helps you read the near road and edges, while rear fog lamps make the vehicle easier for following traffic to see. Neither type removes the need to slow down, keep the windshield clear, and watch the lane.
Use low beams instead of high beams in dense fog. Turn rear fog lights off when visibility improves. For a failure, start with the switch, indicator, sensor or lamp area, bulb, fuse, and connector, then stop replacing parts if the fuse fails again or the wiring looks damaged.
You can handle cleaning, a simple bulb replacement, and a fuse check when the manual makes the job clear. A technician should handle repeated electrical faults, LED modules, damaged wiring, water inside the housing, and beam alignment. The clear takeaway is simple: use the lamps only when the conditions need them, and treat a fog-light failure as an electrical problem to diagnose, not a reason to install a larger fuse.